This site contains affiliate links, view the Disclaimer for more information.
A useful walking light helps you see the path without constantly adjusting your grip or brightness. Here is how to compare beam coverage, controls and runtime.
Start with the ground in front of you
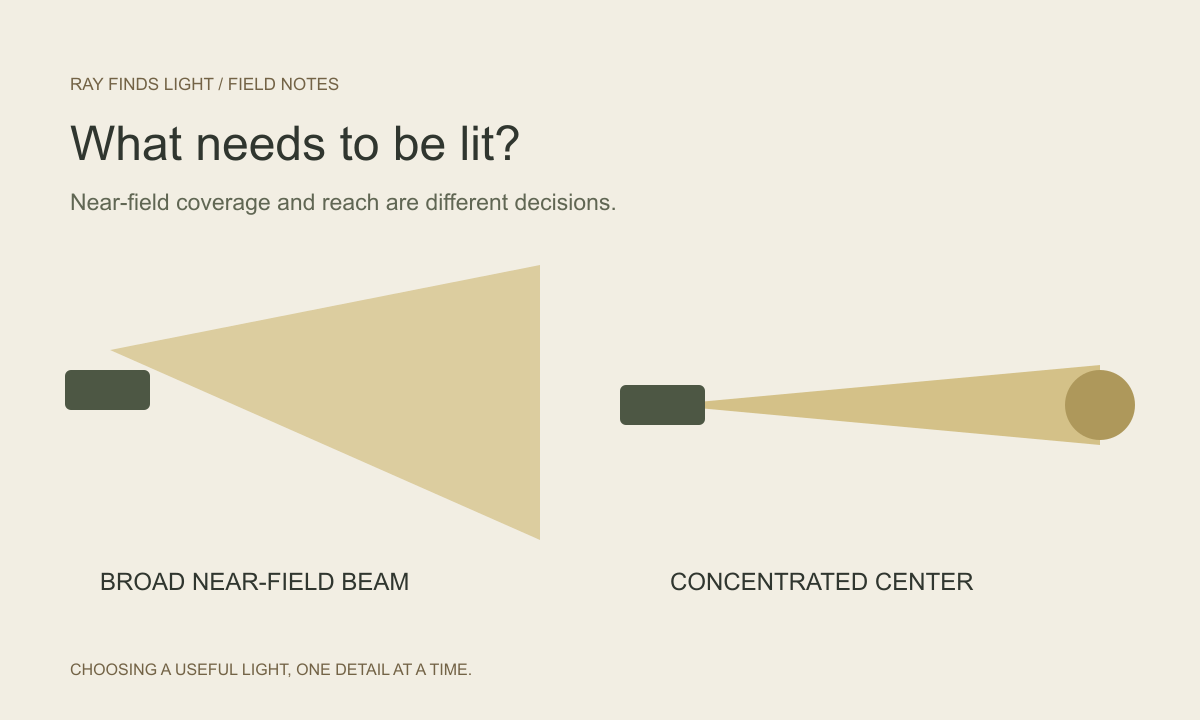
On a familiar pavement, nearby edges, steps and uneven ground matter. On an open path, you may also want a more concentrated center to inspect something farther ahead. A useful beam should suit both the distance you need and the amount of surrounding ground you want to see.
Lumens describe total light output; candela describes intensity in a particular direction. Two lights with the same lumen rating can put that light in very different places. A concentrated beam is useful for a distant object, but may leave nearby edges less comfortable to follow. A broad beam covers more of your immediate surroundings but need not reach as far.
Treat beam pictures carefully
Compare beam photographs made at the same distance with the same camera settings. Automatic exposure can make a dimmer beam look brighter, and a phone’s white balance can make different color temperatures appear similar. A photograph is useful context, but is not a substitute for measured output or a runtime curve.
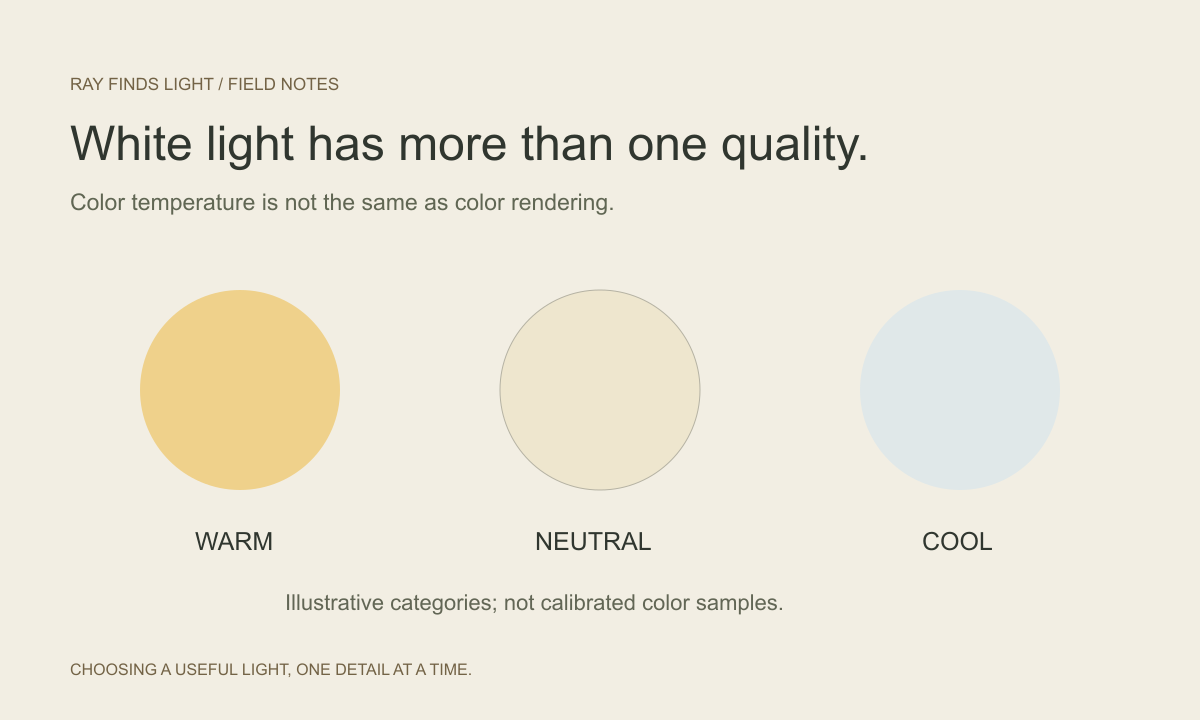
A warmer option can look pleasant for close tasks; a cooler option may suit a reader who prefers that appearance. Neither preference proves that a light reveals colors accurately. If identifying colored objects matters, check a documented CRI specification for the exact emitter option. Do not assume every version of a model uses the same LED.
Compare a medium mode over the time you need
Choose your expected walk duration first. Then read the manufacturer’s runtime table for a usable setting, rather than matching the largest lumen number to the longest quoted runtime. Check the battery, mode and test conditions attached to the figures. If a graph shows output falling, ask whether the later level is still suitable for your route.
Keep a margin for a longer route or a partially charged battery. A short high-output boost can help inspect something, but it is not a plan for the whole walk. Heat, battery state and thermal regulation can affect the output available.
Handheld or right-angle?
| Use | What to consider | Limitation to notice |
|---|---|---|
| Handheld light | A comfortable grip and a switch you can find | One hand remains occupied |
| Right-angle light clipped to clothing | Whether the clip holds the beam where needed | Clothing moves; a clip is not the same as a stable headband |
| Light in a compatible headband | Hands-free aiming and secure retention | Confirm the headband fit and avoid shining into other people’s faces |
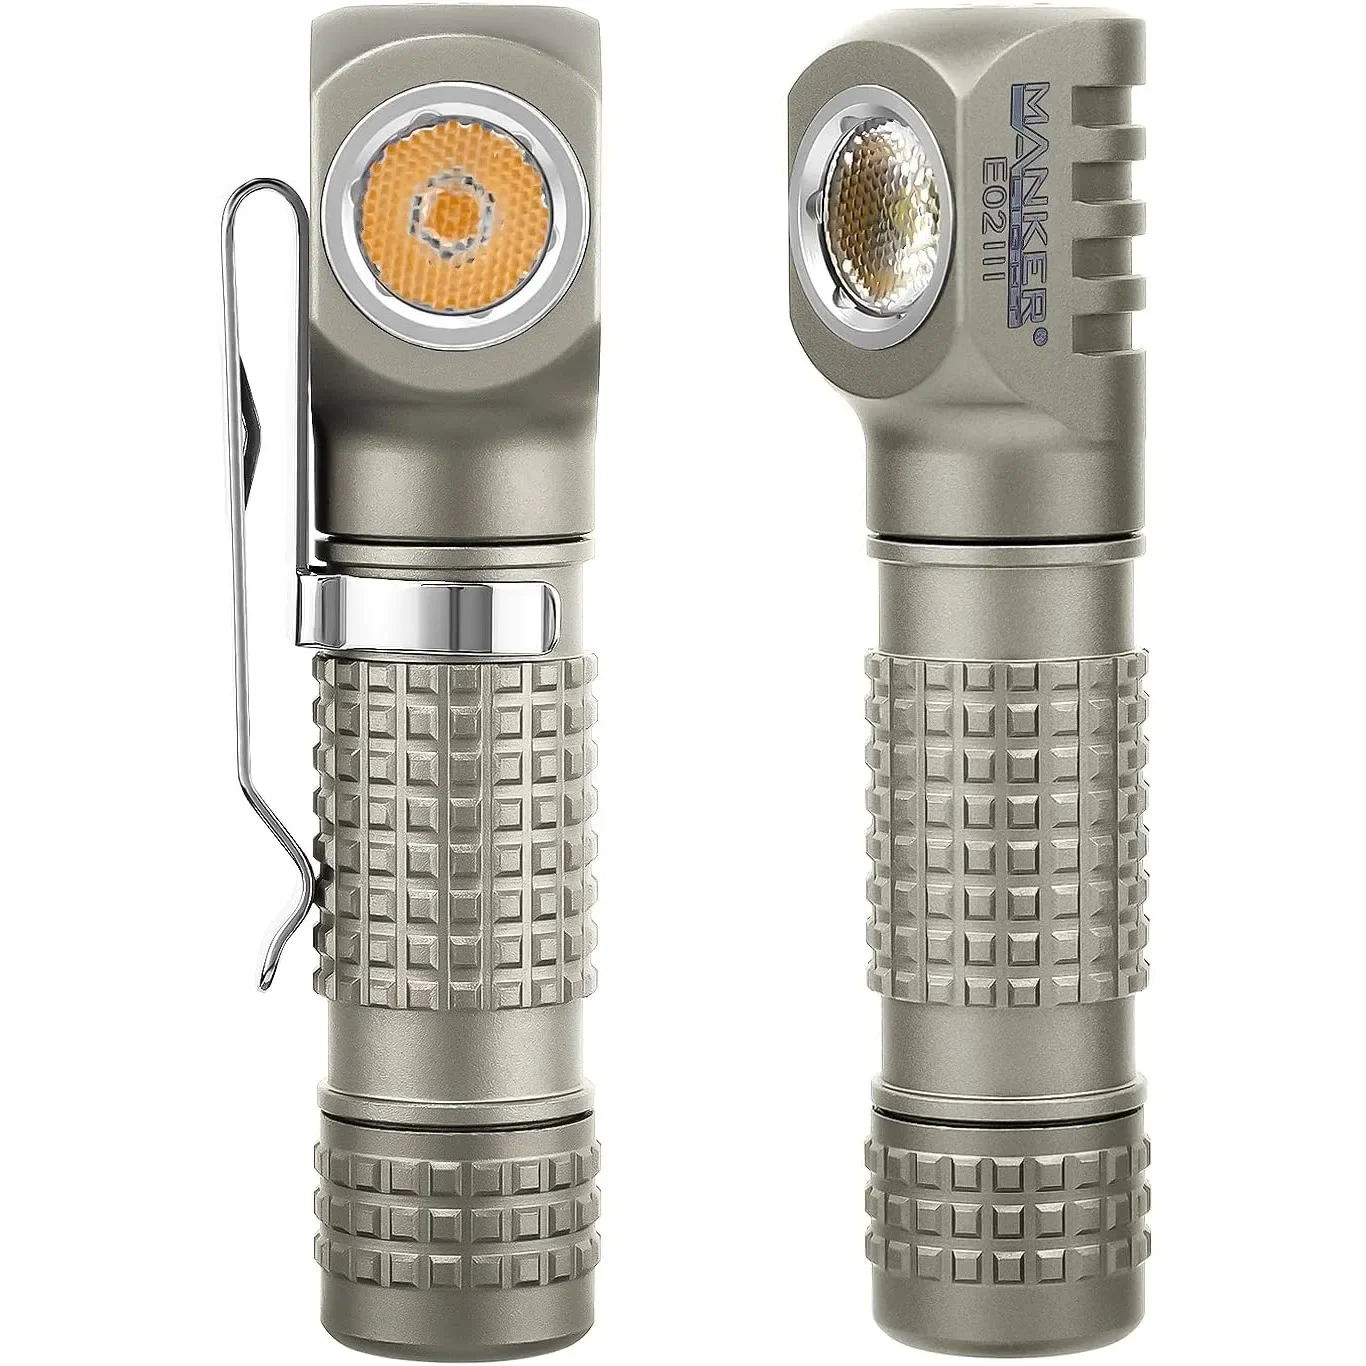
The Manker E02 III is one compact right-angle option. Its maker lists AAA and specified 10440 compatibility, and offers different emitter options. It is worth comparing when small size matters, but its compact cell is a reason to read the runtime table closely. A headband can be a separate option. We have not verified comfort, beam uniformity or runtime by testing it.
Check controls before carrying it outside
Read how to turn the light on at low, increase output and switch it off. Learn whether a double press triggers turbo or another mode. If you wear gloves, consider whether the switch can still be located by touch. A side switch, tail switch and twist head each ask something different of your grip.
Keep the light aimed below other people’s eyes. Use a lower mode when the brighter one is unnecessary. A handheld light is not a replacement for the visibility equipment needed for a particular road activity, and this guide does not evaluate compliance with cycling or road-lighting rules.
Before leaving
- Confirm charge or cell condition and unlock the light.
- Choose a comfortable setting before you need to negotiate steps.
- Check the clip or lanyard attachment and keep access to the switch clear.
- Bring an independent backup for a route where loss of light would be consequential.
- After the walk, let the light cool and inspect the charging cover and body before storage.
Read the AAA and 10440 guide before buying spare cells for a compact dual-fuel light.
Source notes
The product example is based on Manker’s E02 III documentation. For output, beam intensity and beam pattern as separate selection criteria, see Streamlight’s guide to choosing the right flashlight. Diagrams on this page explain selection concepts and do not depict measured beams or test results.
What to look for
Compare the model numbers and fit details before ordering. Check the selected variant, battery bundle and seller before ordering.
Manker E02 III
A small right-angle light with AAA and approved 10440 options. Choose the emitter and battery deliberately; a headband may be a separate option. The listing photo shows an olive body.
View on AliExpress